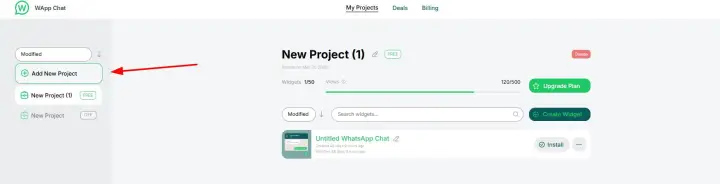
1.Create a new project
Start by setting up a new project in the control panel of the Wapp chat widget.

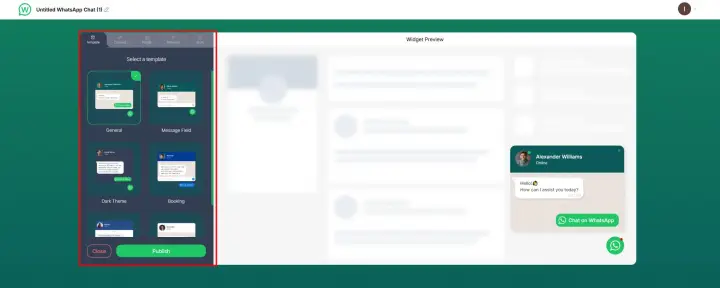
2. Customize your widget
Create a widget according to your brand — choose colors, location, and messaging style using the built-in widget designer.
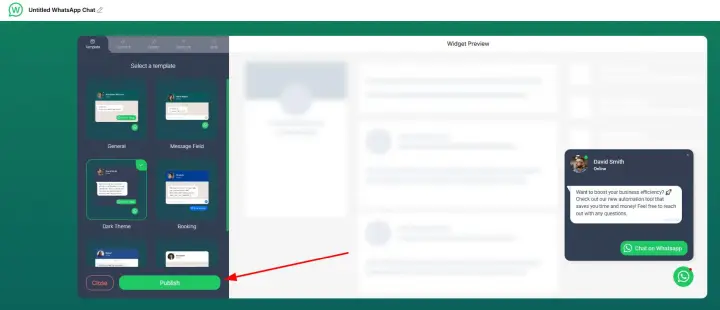
3. Publish your widget
Once you are satisfied with the settings, click the publish button to launch it.
4. Click Install.
After publishing, just click the Install button.

5. Copy the installation code.
Your unique widget code will be generated. Copy it for use on your website.
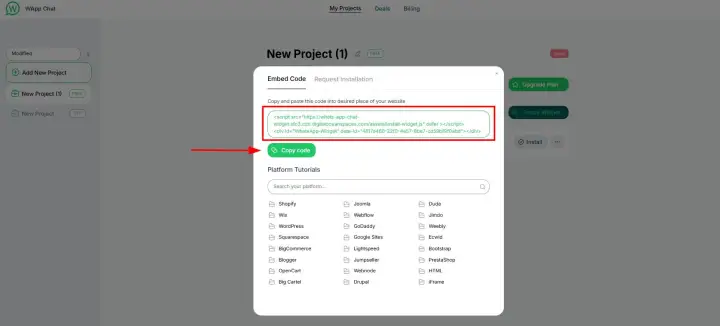
6. Add the code to your website
Need a Hand? If you encounter any issues during installation or have questions about customizing your widget, our support team is here to help. Please reach out to us at support@wapp-chat-widget.com