Want visitors to contact you on WhatsApp from your Bootstrap website? This guide shows how to add the Wapp Chat Widget to one page or make it available across your entire site.
Before you begin, make sure you've created your widget and copied the installation code from your WApp Chat dashboard
Step-by-step guide for getting the code of the Wapp Chat widget
Choose How You Want to Display the Widget
Install to the single page
Open the folder where your Bootstrap website files are stored. This can be a local project on your computer, a code editor workspace, or files inside your hosting control panel.
If you are working locally, use your usual code editor, such as VS Code, Sublime Text, or another editor you prefer.
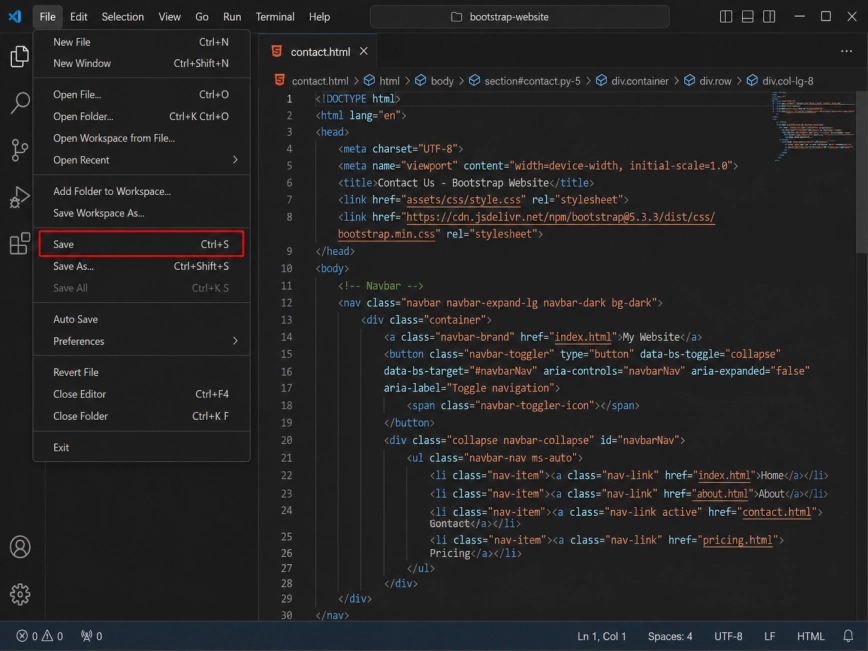
Step 1: Open Your Bootstrap Project Files
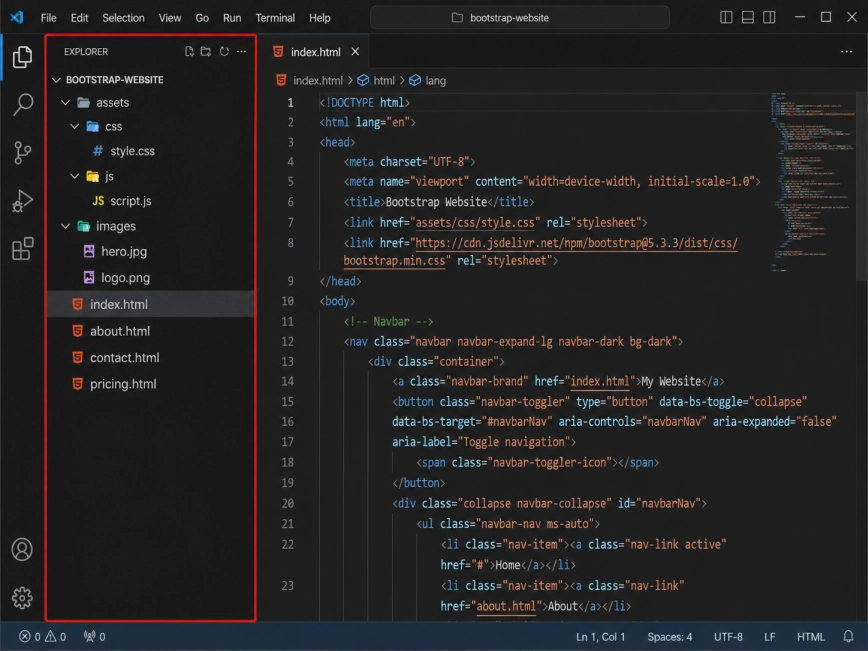
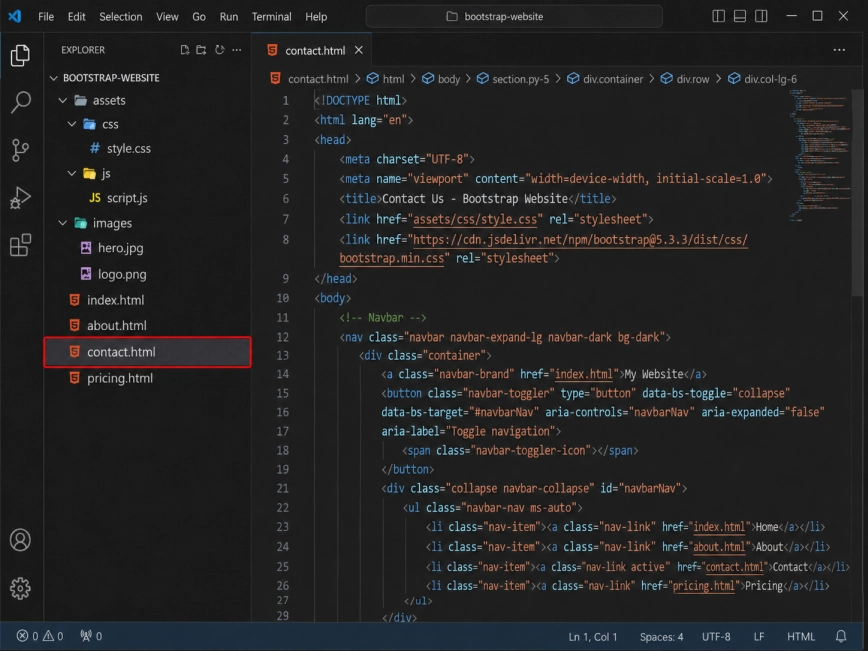
Find the HTML file where you want to show the WhatsApp widget. For example, this may be index.html, contact.html, pricing.html, or another page of your Bootstrap website.
Open this file in your code editor.
Step 2: Choose the Page for the Widget
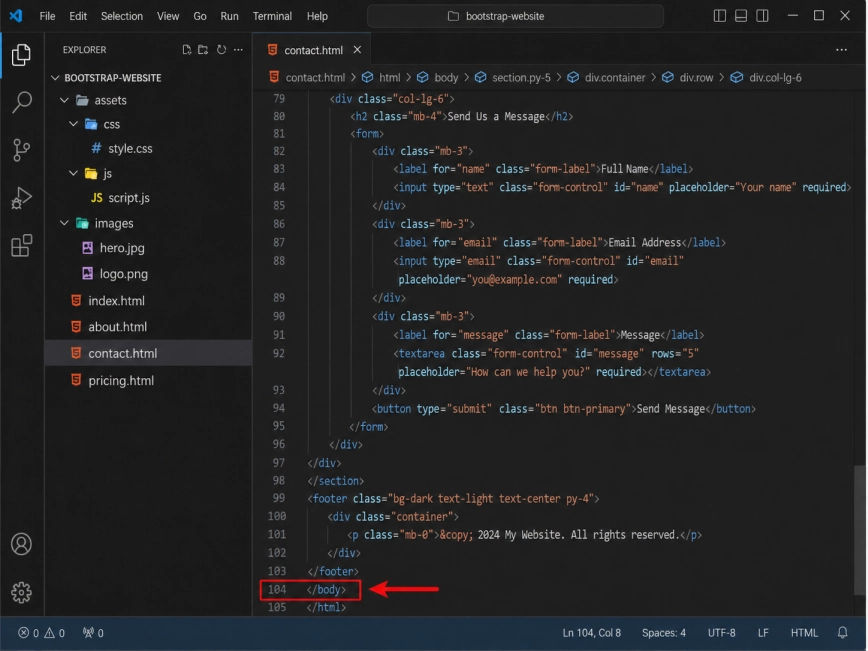
Scroll toward the bottom of the selected HTML file and find the closing </body> tag.
For a floating WhatsApp widget, it is usually best to place the installation code right before this tag. This keeps the widget separate from your page content and helps it load correctly.
Step 3: Find the Closing Body Tag
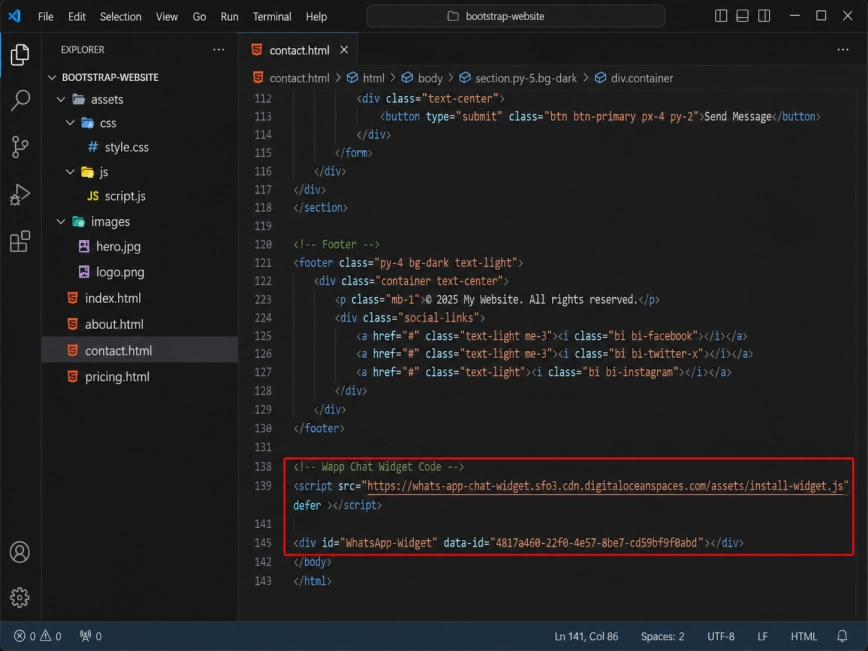
Paste your Wapp Chat Widget installation code right before the closing </body> tag.
Step 4: Paste the Wapp Chat Widget Code
Save the changes in your HTML file.
If your Bootstrap website is already online, upload the updated file to your hosting server using your usual method, such as FTP, your hosting file manager, Git deployment, or another workflow.
Step 5: Save the File
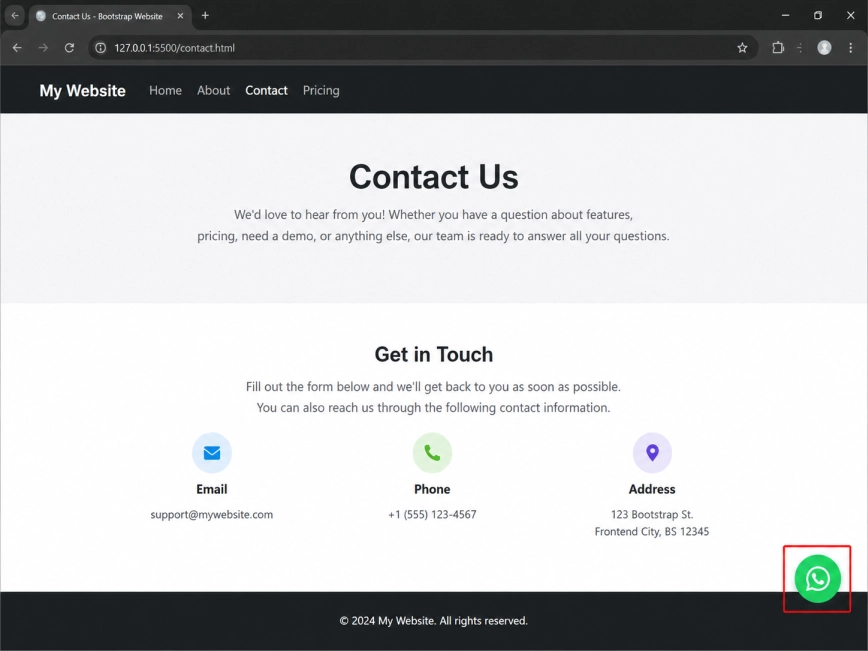
Open the page in your browser and check that the WhatsApp chat button appears on the website.
If you do not see the widget right away, refresh the page and clear your browser cache. Also make sure the code was added before the closing </body> tag and not inside another script or HTML element.
Step 6: Check the Widget on the Page
Install to the All pages
Add Your Widget to All Pages
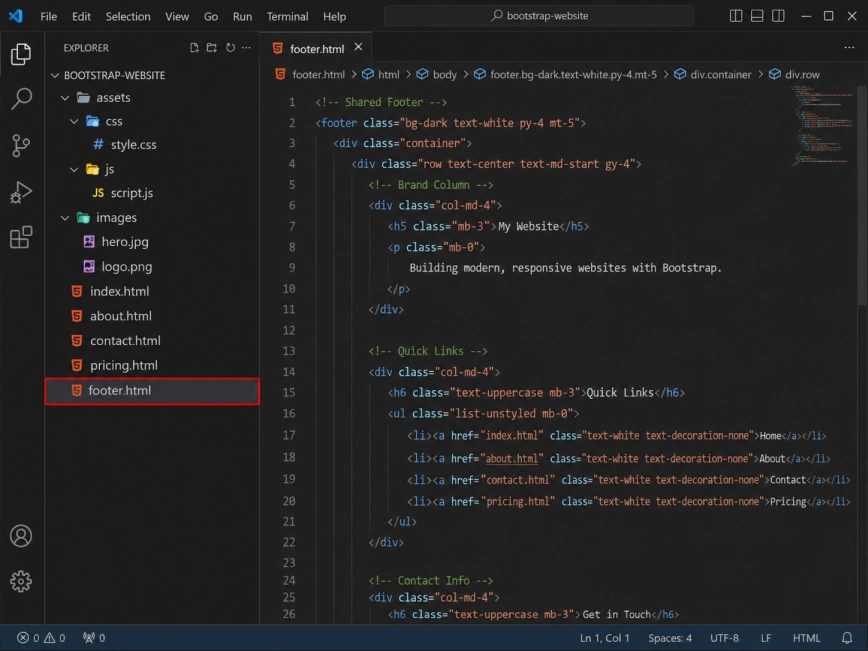
If your Bootstrap website uses a shared layout, footer file, template, or partial, open the file that is loaded on every page.
This may be a file like footer.html, layout.html, base.html, main.php, or another common template depending on how your website is built.
Step 1: Find the Shared Layout or Footer File
Scroll to the bottom of the shared file and look for the closing </body> tag.
If your project separates the footer from the main layout, add the widget code in the file that appears closest to the end of the page before the body closes.
Step 2: Find the End of the Page Layout
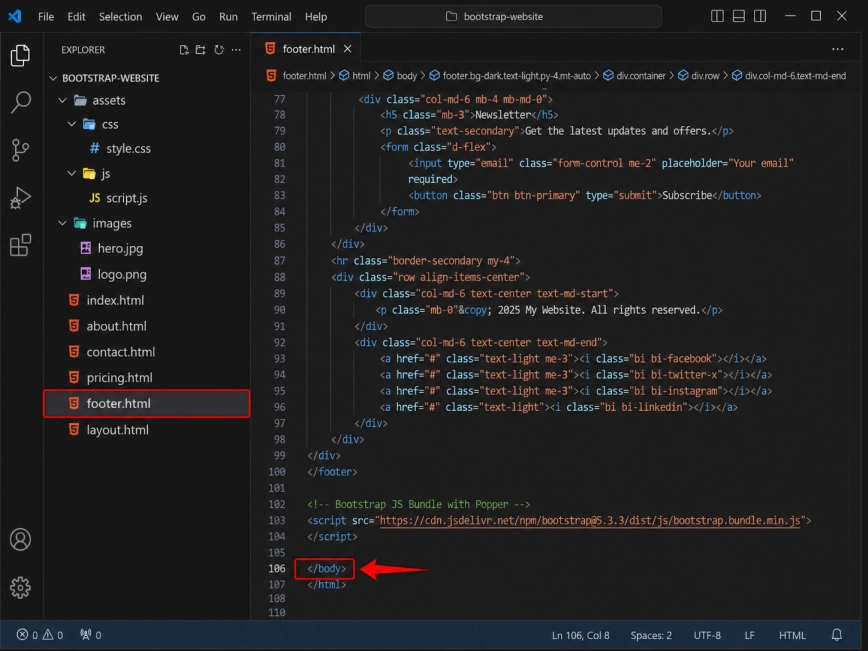
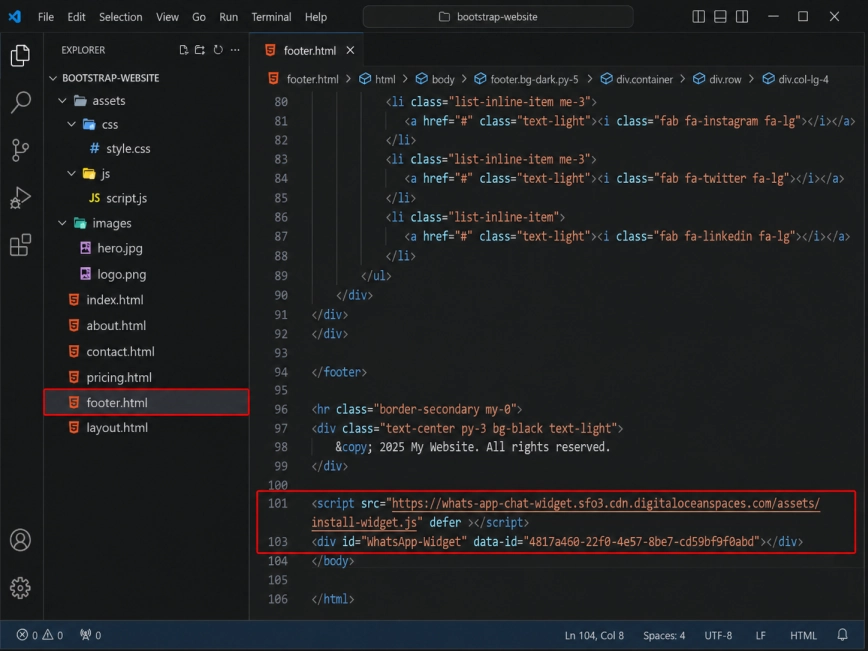
Paste the full Wapp Chat Widget installation code before the closing </body> tag or at the bottom of your shared footer file.
This setup lets the widget load across your Bootstrap website without adding the same code to every page manually.
Step 3: Paste the Full Wapp Chat Widget Code
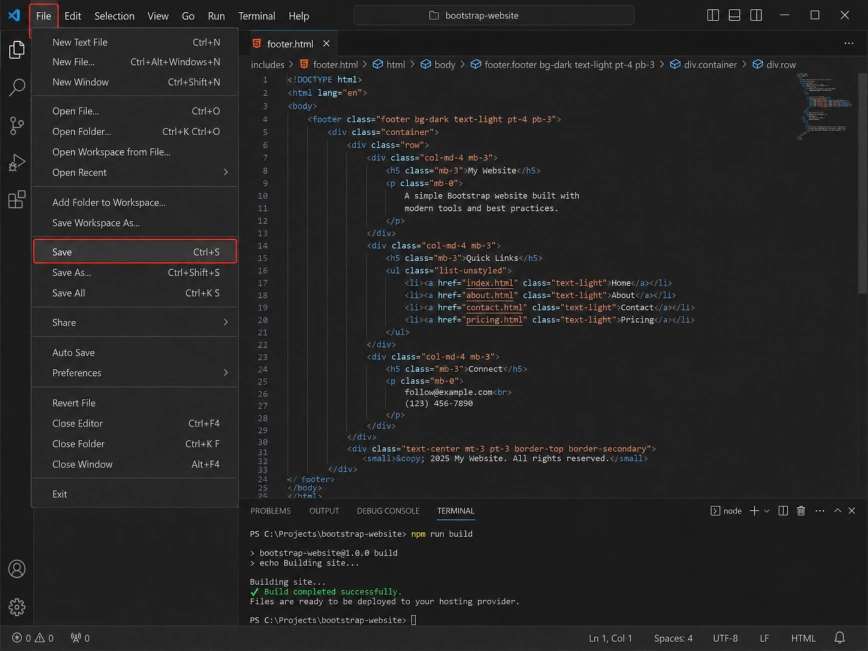
Save the updated layout or footer file.
If your website has a build step, run your usual build command and publish the latest version. If your site is static, upload the changed file to your hosting server.
Step 4: Save and Publish Your Changes
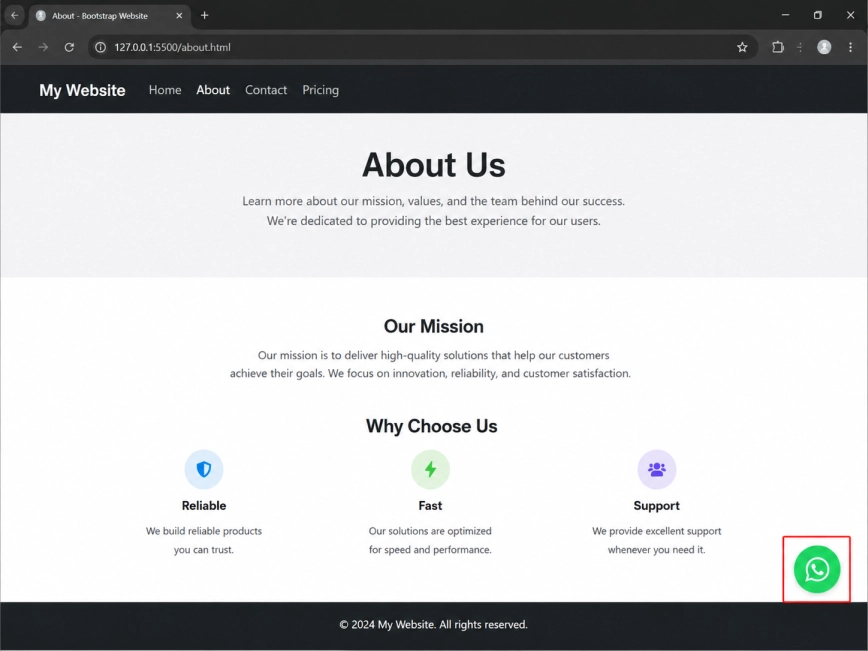
Open several pages of your Bootstrap website, such as the home page, contact page, and product or service page.
The Wapp Chat Widget should now appear across the entire site. If it only appears on one page, check whether you added the code to a single HTML file instead of the shared layout or footer file.
Step 5: Check the Widget Across Your Website
All set. Your Wapp Chat Widget should now be working on your Bootstrap website.
Need a hand with setup?
Contact our support team and we will help you get the widget running on your website.
support@wapp-chat-widget.com