Want to make it easier for visitors to contact you from your Webnode website? This guide shows how to add the Wapp Chat Widget to one page or display it across your whole site.
Before you begin, make sure you've created your widget and copied the installation code from your WApp Chat dashboard
Step-by-step guide for getting the code of the Wapp Chat widget
Choose How You Want to Display the Widget
Install to the single page
Log in to your Webnode account and choose the website where you want to add the Wapp Chat Widget.
This option is a good fit if you want the WhatsApp button to appear only on one selected page, for example your homepage, contact page, or a landing page.
Step 1: Open Your Webnode Dashboard
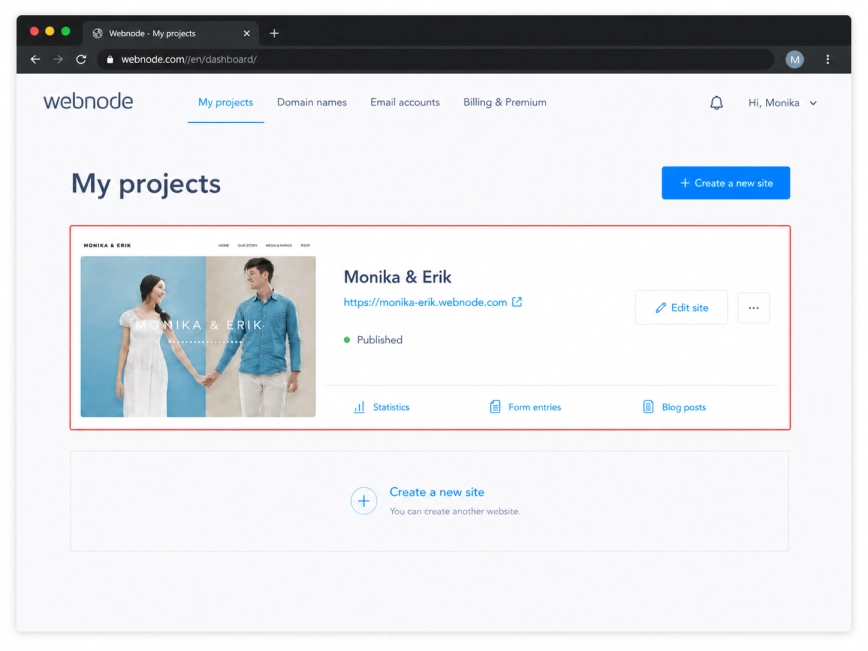
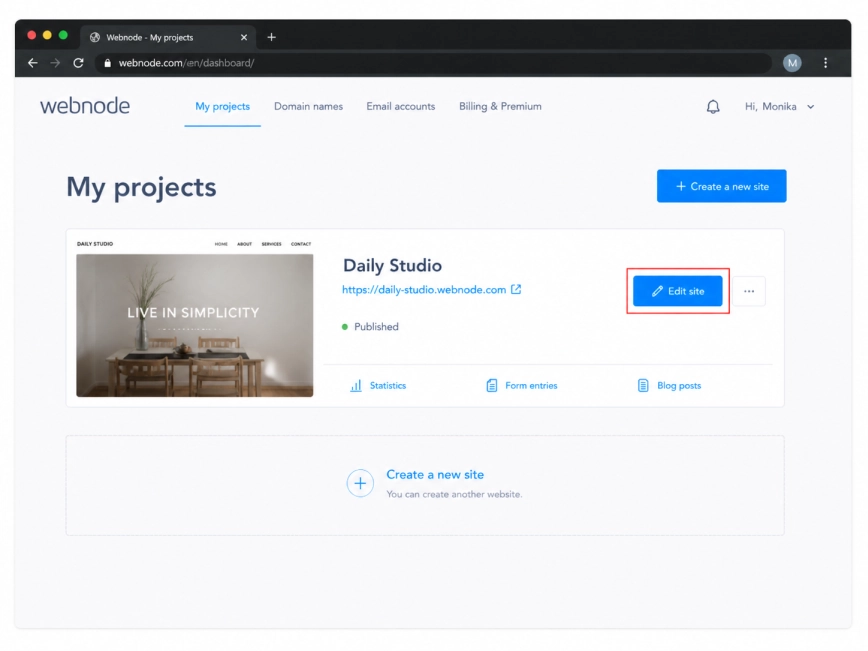
Open the website project and click Edit site.
Webnode will take you to the visual editor, where you can choose the exact page and place where the widget should be added.
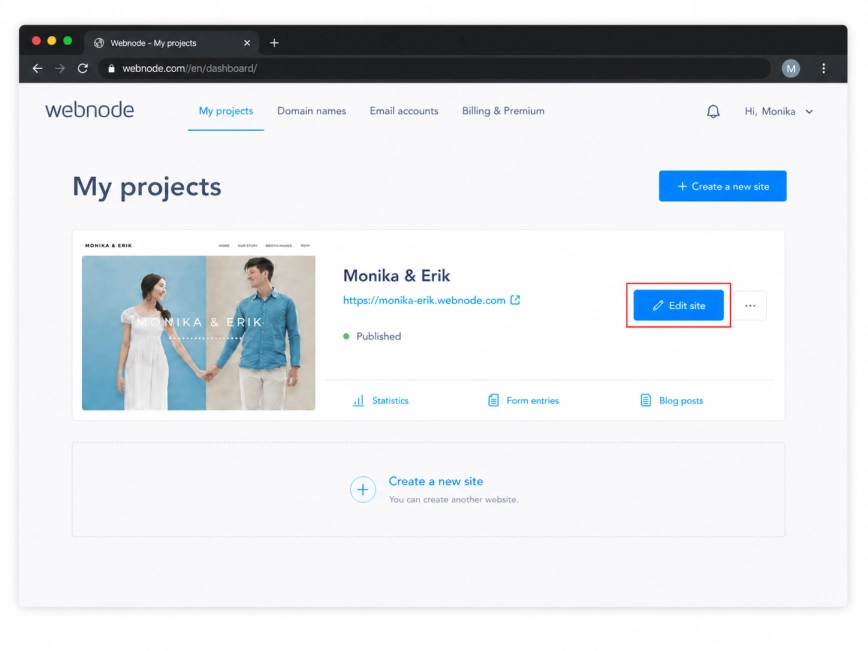
Step 2: Click Edit Site
Open the page where you want the WhatsApp widget to appear.
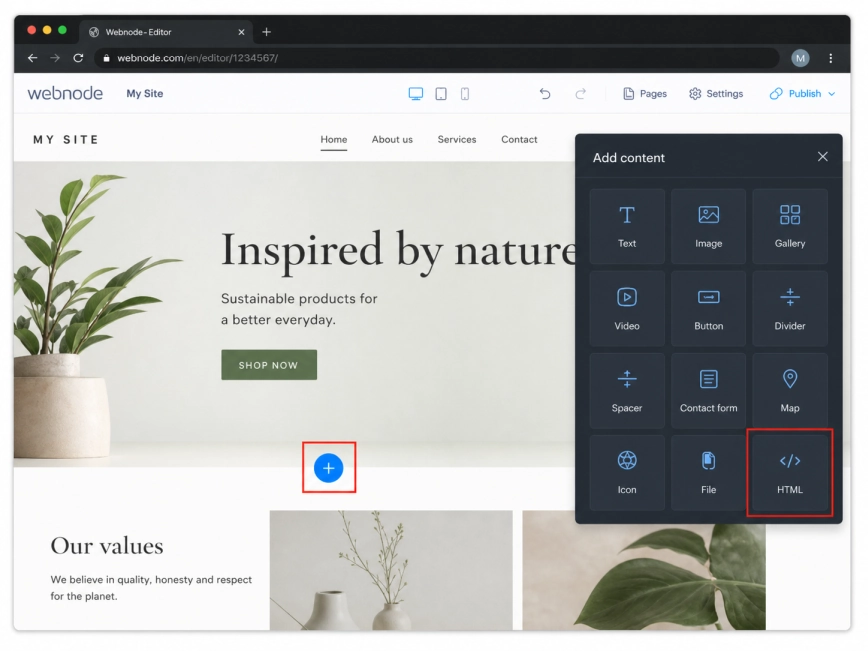
Hover over the section where you want to place the widget, click the plus button, and choose the HTML block from the content options.
Step 3: Add an HTML Block to the Page
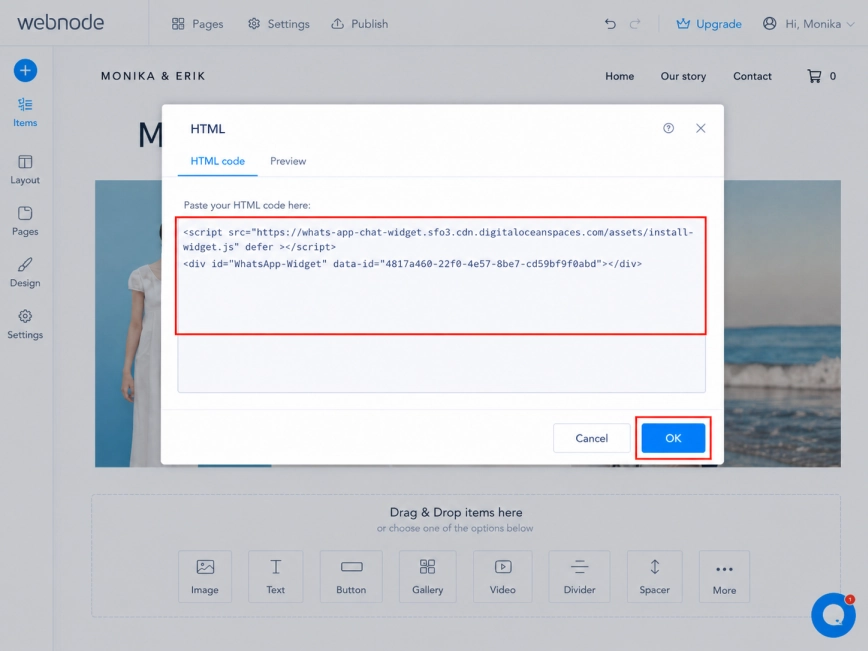
Paste your Wapp Chat Widget installation code into the HTML field.
After that, click OK or confirm the changes in the HTML block. The code will be added to this page, and the widget will load from there.
Step 4: Add the Wapp Chat Widget Code
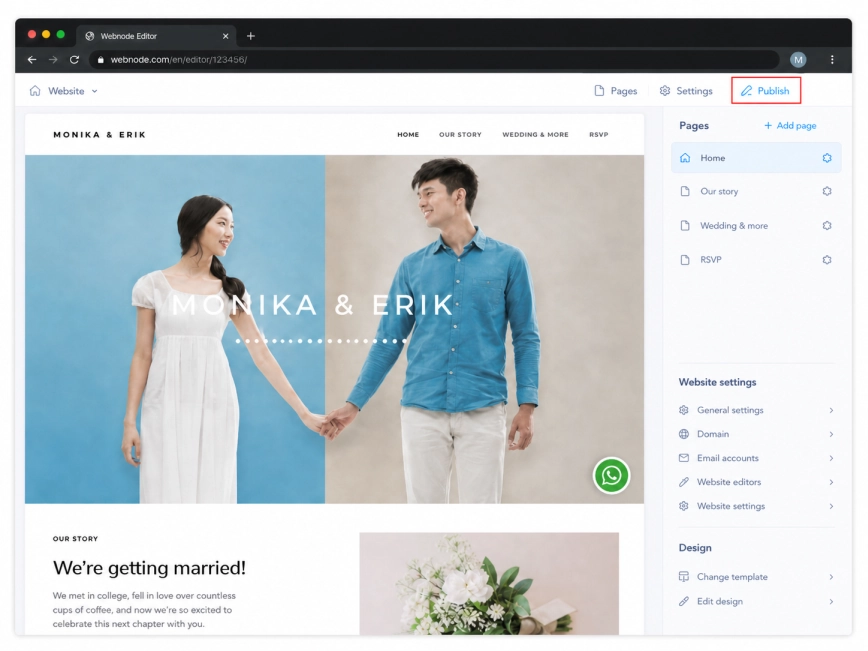
Click Publish in the upper-right corner of the editor to apply the changes to your live website.
Open the selected page and check that the WhatsApp widget appears correctly. If you do not see it right away, refresh the page once.
Step 5: Publish the Changes

Install to the All pages
Add Your Widget to All Pages
Log in to your Webnode account and select the website where you want to install the Wapp Chat Widget.
Use this method if you want visitors to see the WhatsApp chat button on every page of your website.
Step 1: Open Your Webnode Dashboard
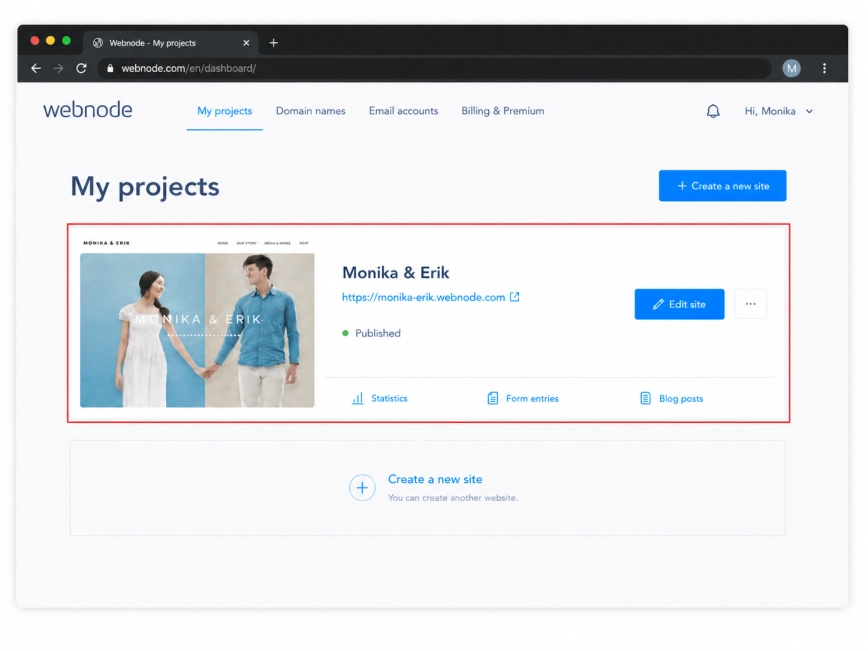
Open your website project and click Edit site.
This will open the Webnode editor, where you can access the website settings and add code that works across the whole site.
Step 2: Click Edit Site
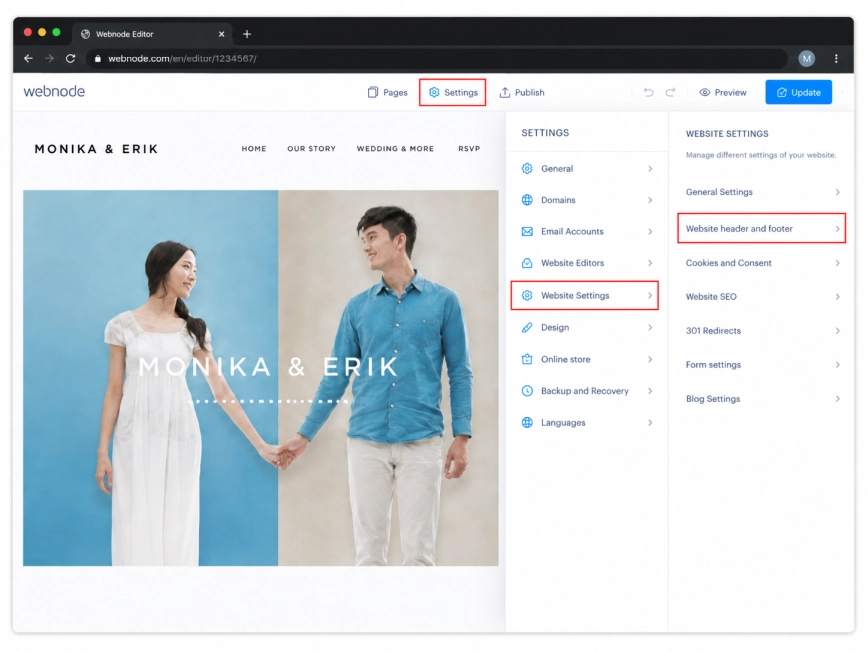
In the top bar of the editor, click Settings.
Then open Website Settings and choose Website header and footer. This is the place where Webnode lets you add custom code to your website.
Step 3: Open Website Header and Footer Settings
Paste the Wapp Chat Widget installation code into the header or footer code field.
For a floating WhatsApp widget, the footer field is usually the most convenient option. It helps the widget load across the website without being tied to one specific page section.
Step 4: Insert the Wapp Chat Widget Code
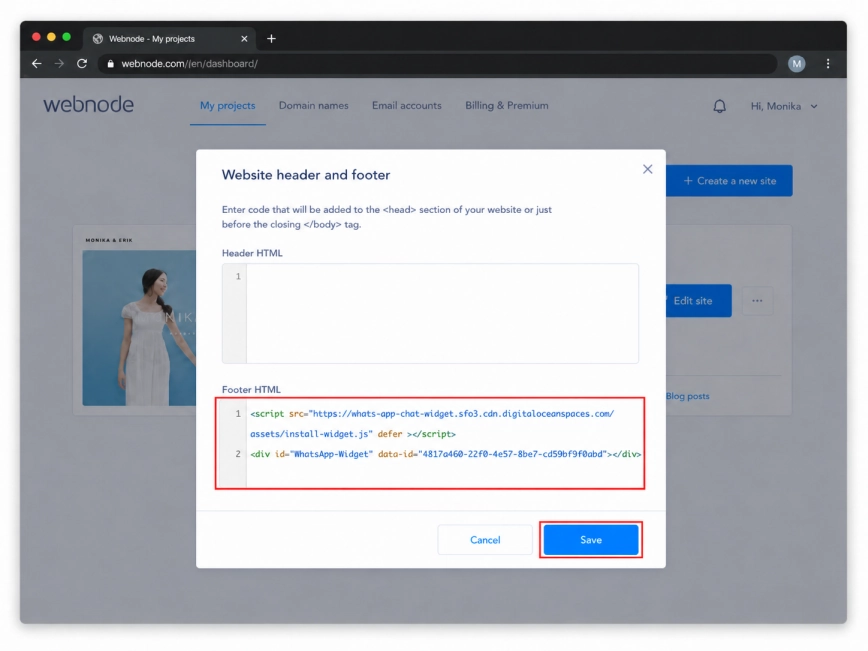
Click Save to apply the code in your website settings.
Then click Publish in the editor. After publishing, visit a few pages of your website to make sure the WhatsApp widget appears everywhere.
Step 5: Save and Publish the Website
All set. Your Wapp Chat Widget should now be live on your Webnode website.
Need some help?
Contact our support team and we will help you set up the widget.
support@wapp-chat-widget.com